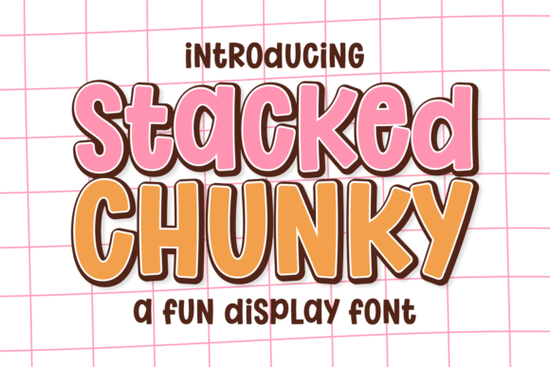
If you are searching for a bold typeface that brings energy to your designs without sacrificing clarity, the Stacked Chunky Font offers a distinct advantage. This isn't just another heavy weight; it balances bounciness with structure. You get rounded edges that soften the impact, making it perfect for invitations where warmth matters alongside visibility. Whether you are working on merchandise or digital assets, this tool helps you capture attention quickly.
Can You Trust This Typeface For Quick Reading?
One of the most common concerns when choosing a decorative typeface is legibility. People often worry that style will hurt readability, but Stacked Chunky proves otherwise. Its substantial presence is there to dominate, yet the spacing and shape allow the eye to move smoothly across the line. We have seen designers struggle with text that feels too tight or scattered, but this solution handles both well. Even in smaller sizes on t-shirts or cups, the letters hold their form effectively.
This reliability makes it suitable for headlines where the message needs to land instantly. You can pair it with thinner sans-serifs for contrast, allowing the chunky elements to shine while keeping body text comfortable. When considering versatility, it is worth looking at other popular options available in the market to see what else fits your specific project requirements. Exploring related categories helps you understand the full range of stylistic possibilities before committing.
- High Contrast: Works well against light backgrounds.
- Weight Balance: Heavy strokes maintain integrity at scale.
- Rounded Corners: Reduces visual harshness compared to sharp geometric fonts.
Who Is This Style Designed For?
This typeface targets creators who need to convey joy and movement. Children's products, summer camps, and birthday celebrations are prime candidates. The rainbow-ready aesthetic fits perfectly within candy-colored schemes or pastel palettes. Because of its vibrant nature, it draws the eye immediately, which is crucial for packaging or promotional banners. If you specialize in toys or educational materials, this could save you hours on layout adjustments because the shapes do all the work.
However, it is not limited to just youth-oriented topics. You might find yourself reaching for something similar for other collections designed for young audiences where fun is the priority. Conversely, if your audience includes gamers or app developers building casual interfaces, you might want to explore how mascot-based designs influence user engagement. Understanding these contexts helps you select the right asset for the job rather than forcing a square peg into a round hole.
How Does It Compare To Other Display Types?
Taking a broader view of the landscape, every project has a tonal shift. While stacked styles offer a modern, stacked appeal, other genres provide different emotional hooks. For example, if you need a rugged, Western feel for a themed event, you might look toward bold character scripts that evoke old signage. Similarly, a hand-lettered vibe often works better for greeting cards than a rigid display face. In these moments, seeking out unique variations ensures your final output feels authentic rather than stock.
Sometimes, the goal is to add a personal touch that feels less manufactured. For warmer projects like home decor or social media captions, softer letterforms often perform better. Checking resources like casual handwritten styles gives you the flexibility to mix serious headings with friendly accents. Even for branding that relies on personality, such as a local coffee shop logo, illustrative approaches might complement the typography nicely.
Practical Tips For Layering And Borders
To truly maximize the potential of this font, pay attention to the details around the letterforms. Adding a white border or sticker-style offset can transform a standard graphic into something pop-off-the-page. This technique creates separation, ensuring the text remains visible even over busy backgrounds like photographs or complex patterns. Here is a quick way to implement these effects efficiently in your workflow.
- Select your text layer in your editing software.
- Apply a drop shadow with low opacity to simulate depth.
- Create a solid background shape behind the letters.
- Add a subtle outline color that contrasts with the fill.
- Adjust kerning to ensure the stacked letters do not collide awkwardly.
Incorporating hand-drawn sparkles or simple geometric shapes adds an extra layer of interest. These accents align well with maximalist trends that favor density and texture. By mixing these elements, you move beyond flat text and create an experience. Remember that simplicity often wins, so pick your embellishments carefully to avoid overwhelming the viewer.
Next Steps To Finalize Your Design
You are now equipped with the knowledge to apply this style confidently. Before exporting, double-check your file settings to ensure compatibility with printing services. Test your design on both mobile screens and print proofs to verify readability under different conditions. Finally, save your layers separately so you can adjust colors or spacing easily in future campaigns. With the right setup, you turn a simple download into a professional asset ready for production.
Try It Free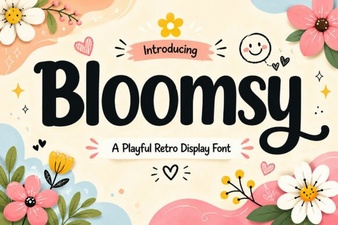 Bloomsy Font: Free Script & Display Typeface
 A Font for Seaside Designs & Websites
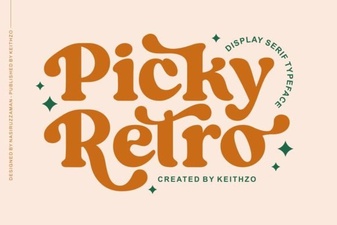 Creative Projects Using Picky Retro Fonts
 Font Selection & Layout Ideas for Magazine Design
 Fonts That Spark Joy for Children's Projects
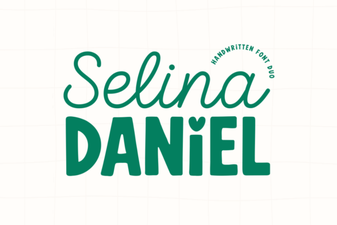 Selina Daniel Duo Font for Creative Projects